Azure Inbound Integration
Cloud Integration with Microsoft Azure
Settings in Azure Portal
Open the Azure Portal at https://portal.azure.com/ and perform the following steps:
|
We assume you have created at least one Resource group already within Microsoft Azure. |
-
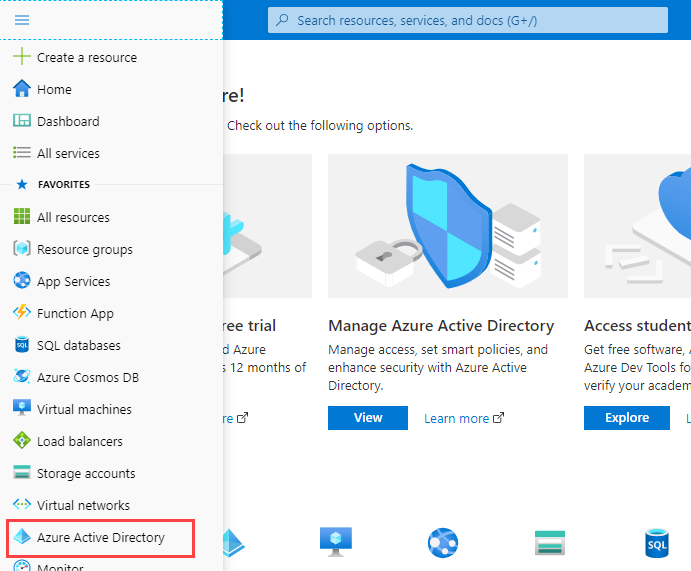
Choose Azure Active Directory from the left-hand side menu.
-
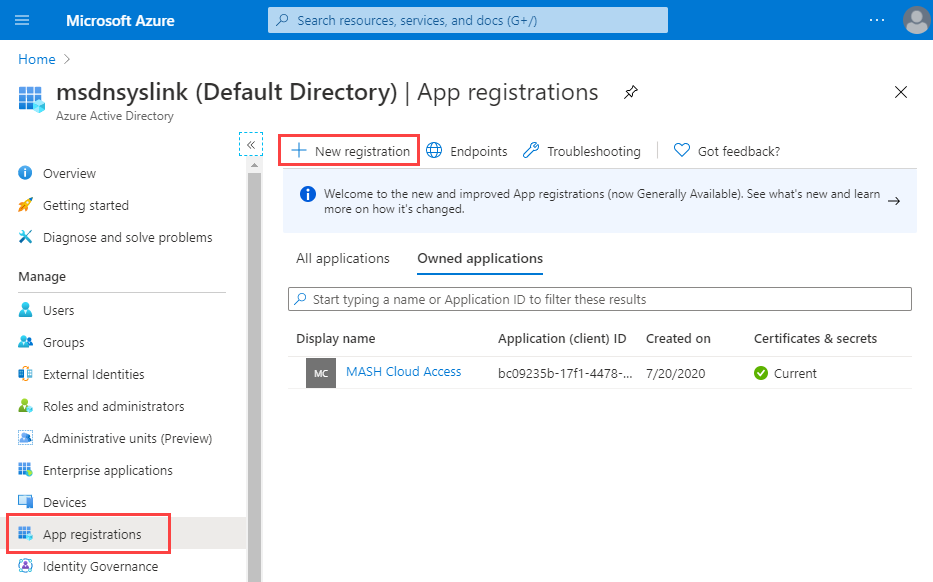
Select App registrations in the left-hand side menu, and click New registration.
-
In the Register an application screen, enter the name of the application, e.g. “Avantra Cloud Access”, the URL of your Avantra Server (e.g. https://avantra-server/xn) into the Redirect URI (optional) field, and select the supported account type. Click Register.
-
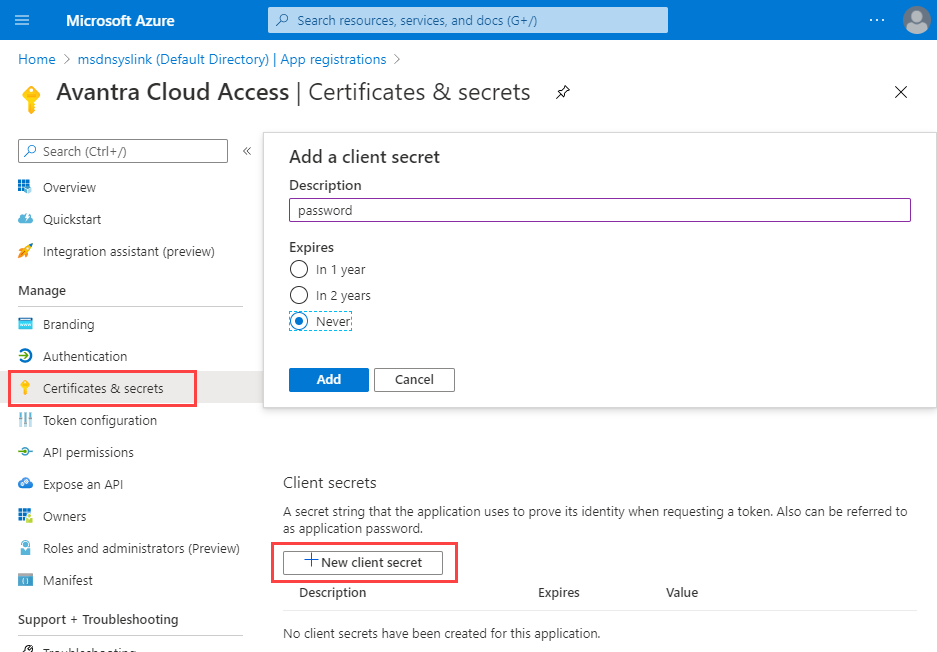
In your newly registered app, select Certificates & secrets in the left-hand side menu, and click the New client secret button. In the opened dialog, enter the value password under Description, choose Never as the expiration option, and click Add.
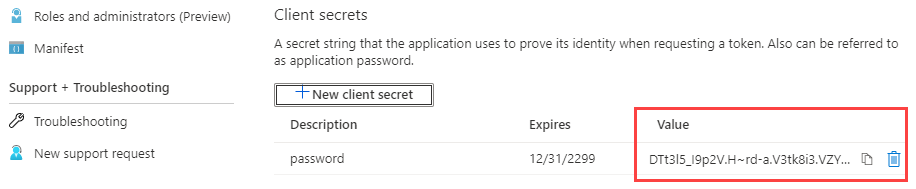
This generates a new password in the VALUES column.
-
Select the created password with your mouse, copy the value to the clipboard, and save it to a secure location.
-
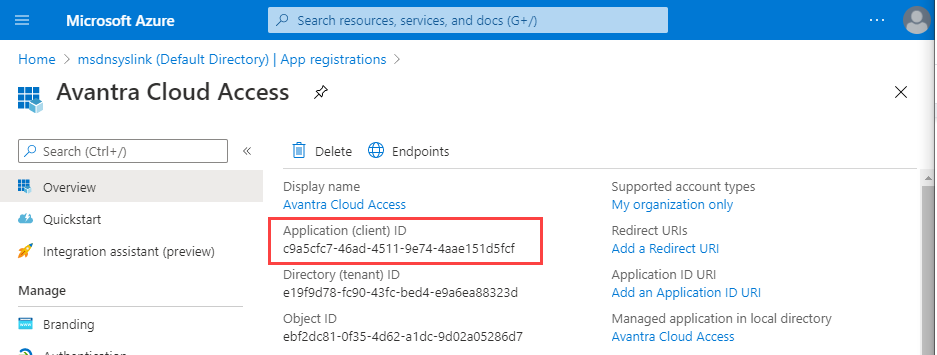
Return to your app registration screen, copy the Application (client) ID, and save it to a secure location.
-
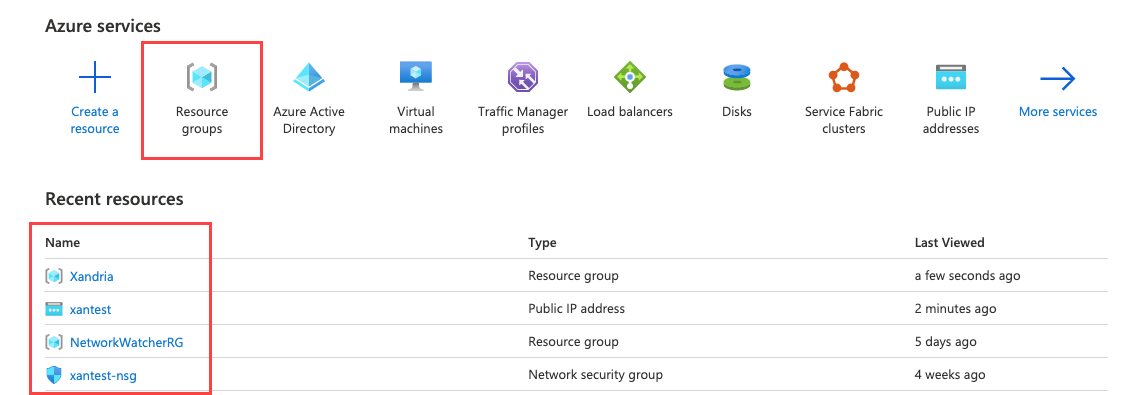
From the Microsoft Azure’s home page, select Resource groups and choose the appropriate resource group.
-
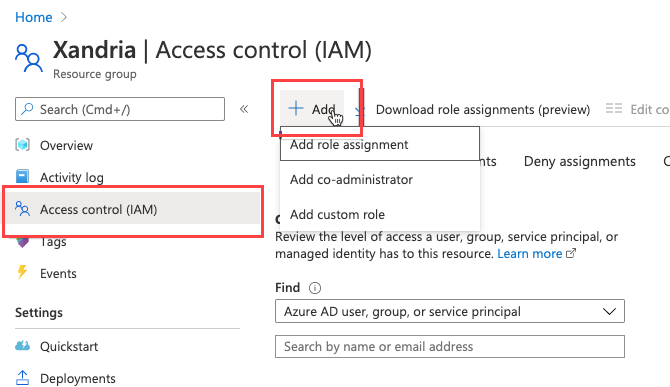
Open Access Control (IAM), and push the Add button.
-
In the Add role assignment dialog, choose Contributor from the Roles drop-down list, and
Azure AD user,group, orapplicationfrom the Assign access to drop-down list. And finally, in Select, choose the name you defined in Step 3.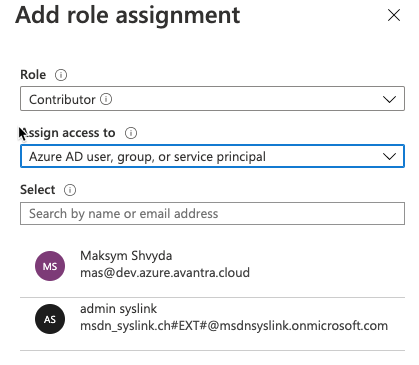
-
Push the Save button.
-
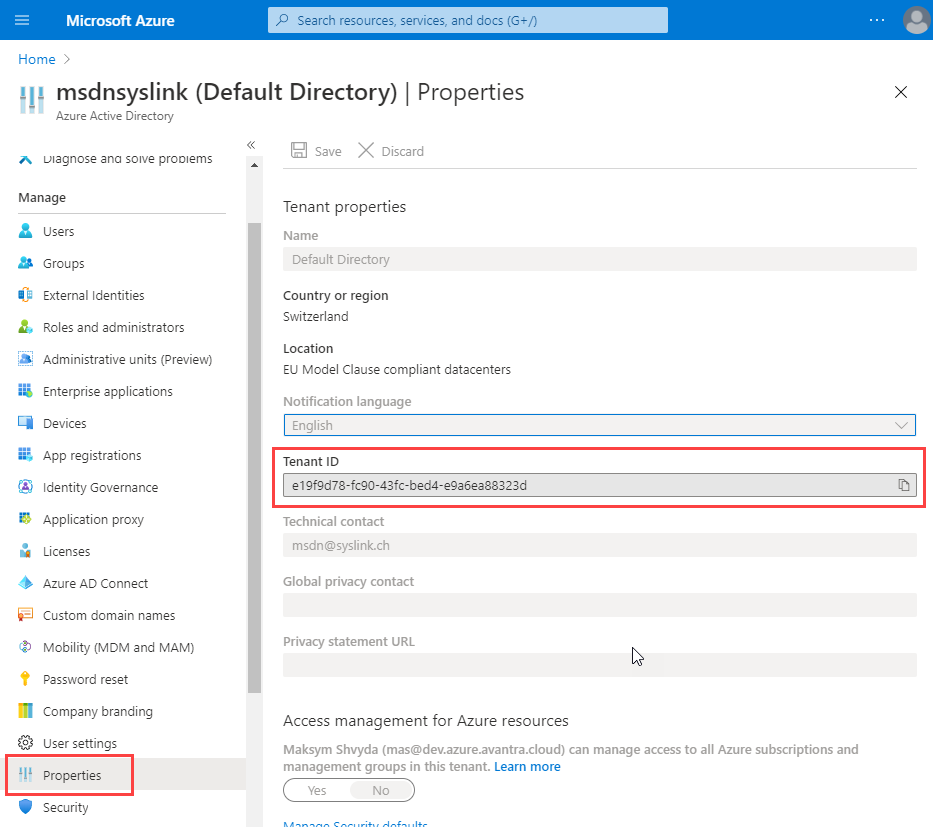
Choose Azure Active Directory and click Properties in the Manage section. Copy the value in the Tenant ID field, and store it in a safe location.
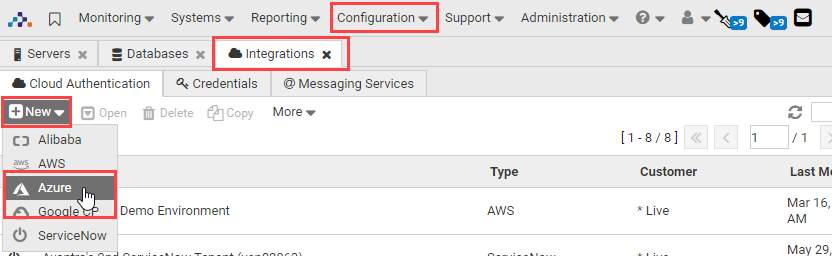
Service Authentication settings for Azure in the UI
Open Avantra WebUI and perform the following steps:
-
Open and choose .
-
Fill in a Name, an optional Description and select a Customer. Push the Finish button.
-
Select the newly created entry and push Open.
-
Fill the value from Step 12 of Procedure: Create an App Registration in Azure in the field Tenant ID.
-
Fill the value from Step 7 in Procedure: Create an App Registration in Azure in the field Client ID (Application ID).
-
Fill the value from Step 6 in Procedure: Create an App Registration in Azure in the field Client Key.
-
Push the Save button.